Dashboards can be used in many different products and can be very helpful for many reasons. Azure has a default dashboard, but it allows you to create your own dashboards to easily get the information that is important to you.
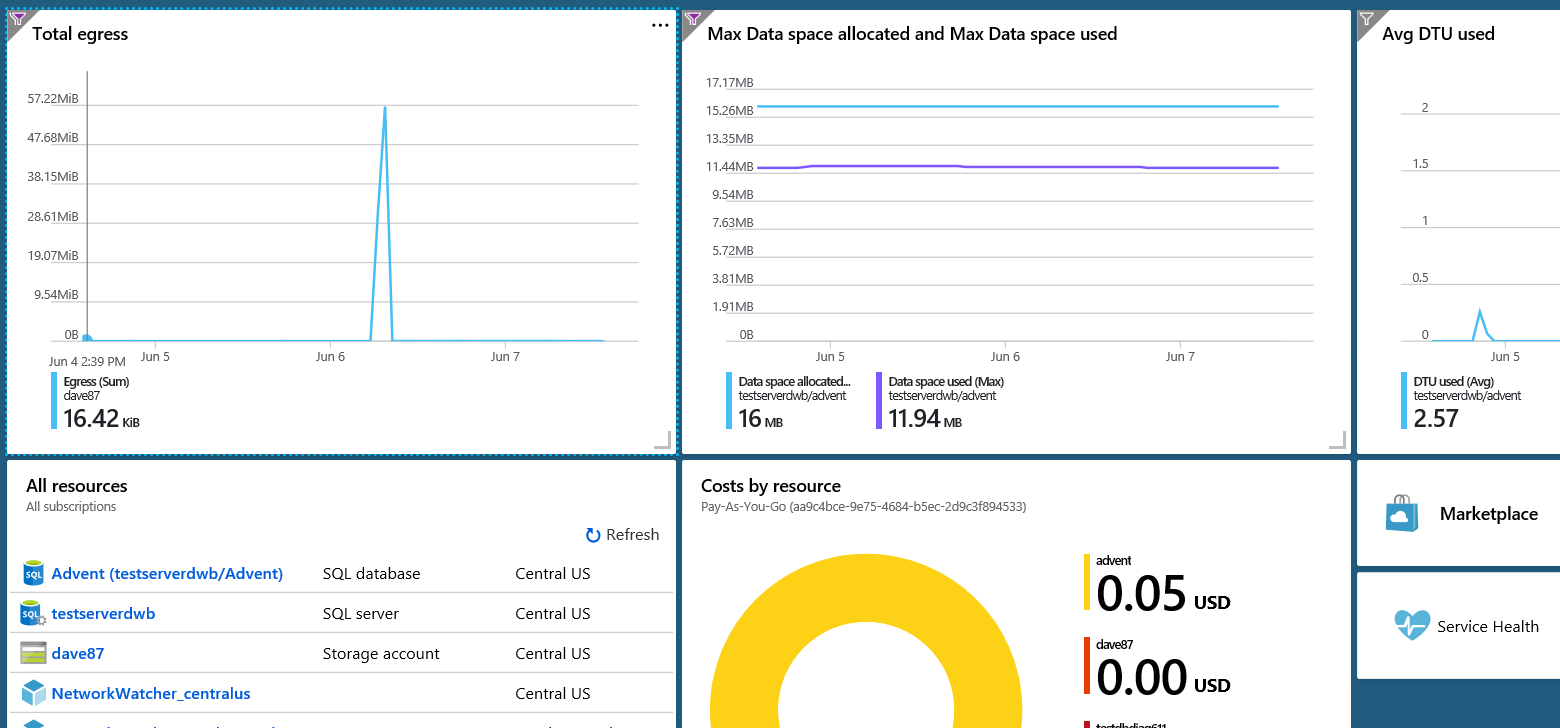
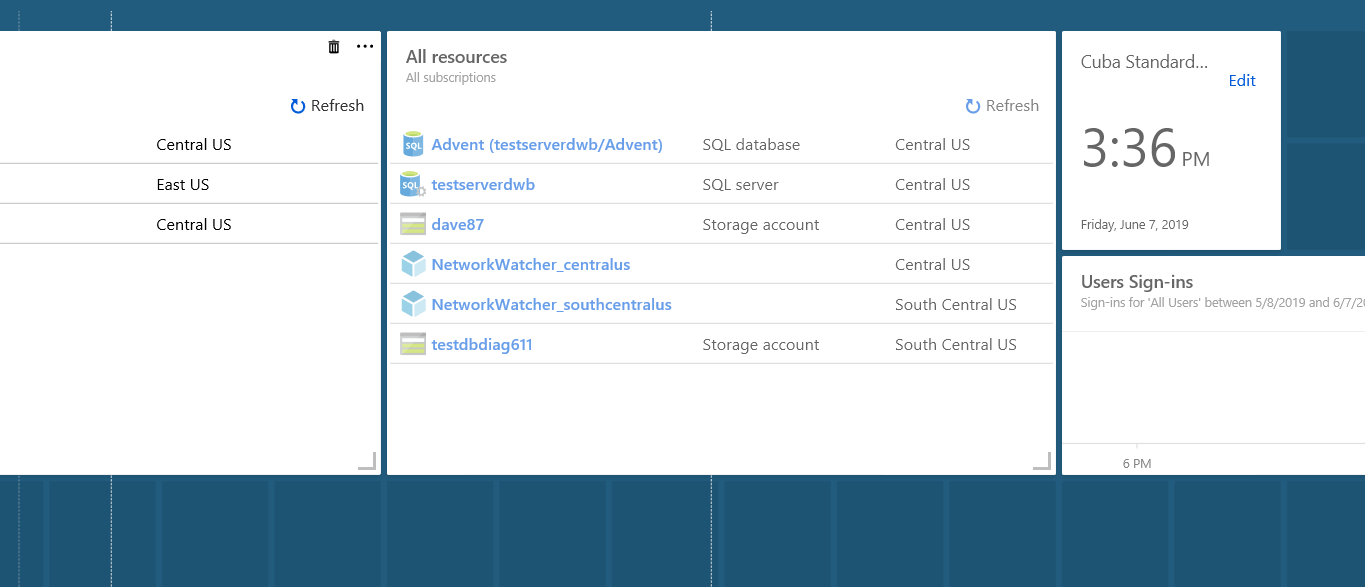
If you look at the screenshot of an Azure portal dashboard, you can see I get quite a bit of information quickly. In this case I can see three reports on activity for my subscription, a list of my resources and the current cost.
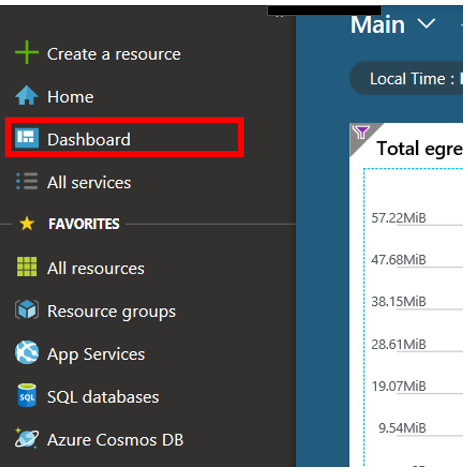
To get to the dashboard you need to click the “Dashboard” menu item on the portal menu on the left side of the screen. Now that we are at the “Main” dashboard we can either leave it or edit it.
When you look at the dashboard the first time, you will see the default dashboard. An example of this is in the image below.

Create A New Dashboard
If the default dashboard does not meet my needs, Azure provides an option to create your own. To create a new dashboard, simply click “New Dashboard” on the menu that appeared at the top of the screen.

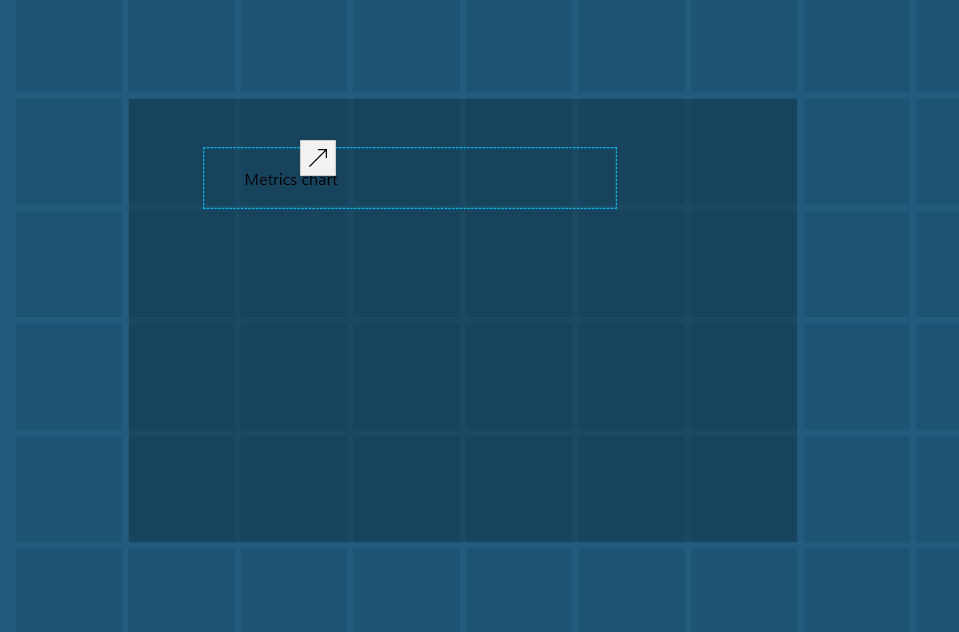
Once you click on “New Dashboard” you will see an empty dashboard as below.
![]()
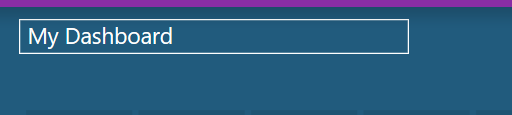
The first item you should consider changing is the title. Of course this should reflect what the dashboard is to display.
Add items to a Dashboard
Now we are at the point we need to add the tiles that will display the information you are looking for. On the left side you will see the “Tile Gallery”. These are some of the items you can add to your dashboard.
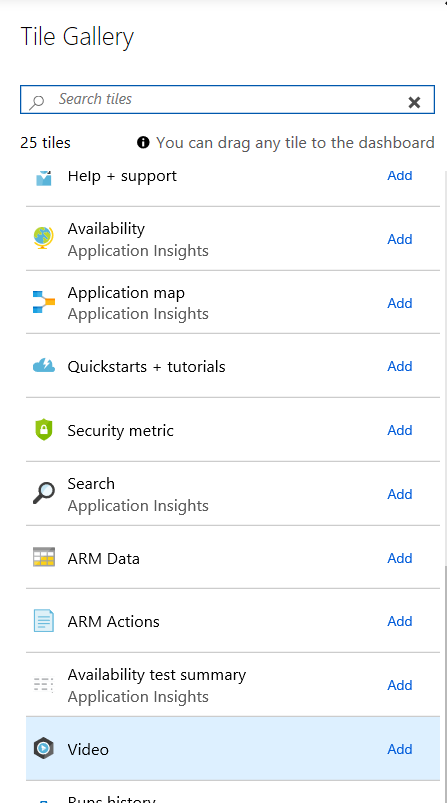
To add the item you can either drag\drop the item to the dashboard or you can click the “Add” item to the right of the tile title.
When you click the “Add” item, Azure will place the tile in the next available location. Azure will add the tile to the right of the tile in the top row. In the image below, I added four items and Azure kept adding them to the right. With the exception of the “User Sign-ins”. Because the clock and the “User Sign=ins” are not as tall as the others, Azure placed the “User Sign-ins” under the clock. However, with most of the tiles they will be placed to the right of the last tile on the top row.
Another method of adding tiles is to drag and drop the tiles from the Tile Gallery. When you use this method, Azure will place a shadow outline on the screen that will show you where the tile will be placed, similar to the image below.
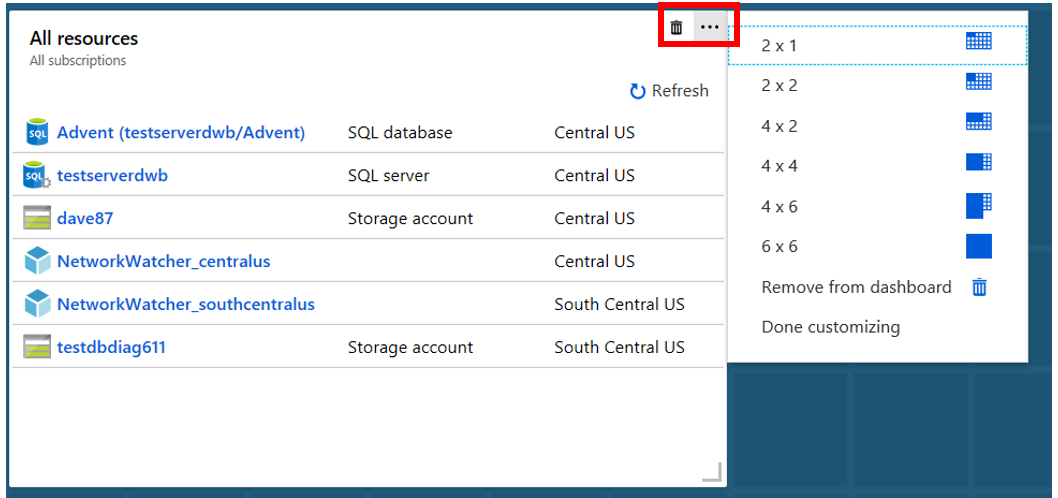
Once I have added the item I can change the size if the default size is not what I am looking for. In the upper right corner of the tile you will see a garbage can and a box with three dots when you float your cursor over this area. To change the size, click the box with three dots and a size context menu will appear. You can then pick the size you would like for the tile.
Now that we have added a few tiles and have everything we need. We can now click “Done Customizing” at the top of the screen. When you do Azure will take you to your dashboard.

Change Dashboards
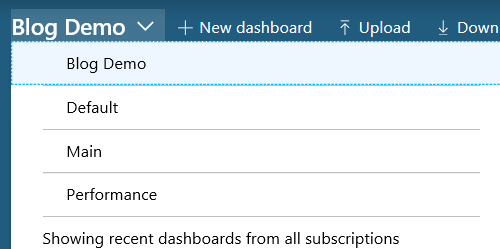
Now that we have added a dashboard, we should have two, the one we created and the default dashboard. To change what dashboard you are viewing, you click the drop down and pick the dashboard you would like to view from the menu.
Edit an Existing Dashboard
If you have an existing dashboard you would like to edit, simply navigate to the dashboard and click “Edit” menu item on the menu across the top.

Now you can add tiles, removed tiles, resize tiles and change the order and placement of the tiles.
Add Metrics Reports
In a previous blog post, I talked about how to create a metrics report. In this same blog I mention how to add a metrics report to a dashboard. Here is the link to that post.
Thanks for visiting my blog!!!