As many of you know, a data breach is a big deal. Not only do they place your customers at risk, a data breach can also have a very negative impact on the reputation of the company you work for. As a DBA, I teach my students that we are the last line of defense against a breach. I feel that an important part of protecting the data is to investigate failed logins. However, in order to investigate them, we need to find the failed logins first. You may be asking, if investigating failed logins is important, how did I find them? There are few methods we can use, including reading the log, SQL Server Audit and using Extended Events. We will cover each of these including how to set it up and read the data.
This will be a three part series covering each of the methods to capture failed logins.
Find Failed Logins Using Error Log
Find Failed Logins Using SQL Server Audit
Find Failed Logins Using Extended Events
Extended Events
So far we have covered two methods of capturing failed logins in previous posts. Both are viable options, depending on what you are attempting to accomplish. The third option above is the first that will also work in an Azure SQL DB. This third option is Extended Events. Unlike SQL Server Audit, there is NOT a failed login event. We will need to use the Error_Reported event instead.
When looking at the image of the error log below, you can see the error number, severity and state of a failed login. These numbers will be critical when setting up the Failed Login Extended Event session.

This is the code needed to create the Extended Event session. Although, there are several targets that can be used for storage, I think that the file is the best target to use. You will need to change the path to one that is suitable for your environment. Notice the WHERE clause, the Error, severity and state all match the above image.
CREATE EVENT SESSION [FailedLogins] ON SERVER
ADD EVENT sqlserver.error_reported(
ACTION(sqlserver.client_app_name,sqlserver.client_hostname,sqlserver.nt_username)
WHERE ([severity]=(14) AND [error_number]=(18456) AND [state]>(1)))
ADD TARGET package0.event_file(SET filename=N’C:\temp\FailedLogins.xel’)
GO
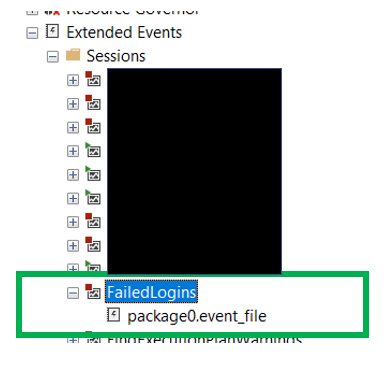
Like the audits, the Extended Event session will need to be enabled before it can collect the desired data. To start a session, simply right click on the session and go to “Start Session”. By looking at the session in SSMS, you can easily tell of the session is enabled or not.
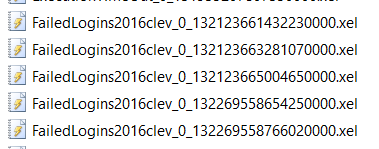
Once the session is started, SQL Server will create a .xel file in the destination location. Once you go to the location, you will notice something a bit unusual about the file names. Look at the huge number at the end. I have looked and looked and the only thing I can find is that this number is the number of seconds since some date in the 1600’s, but not sure if that is true or not.
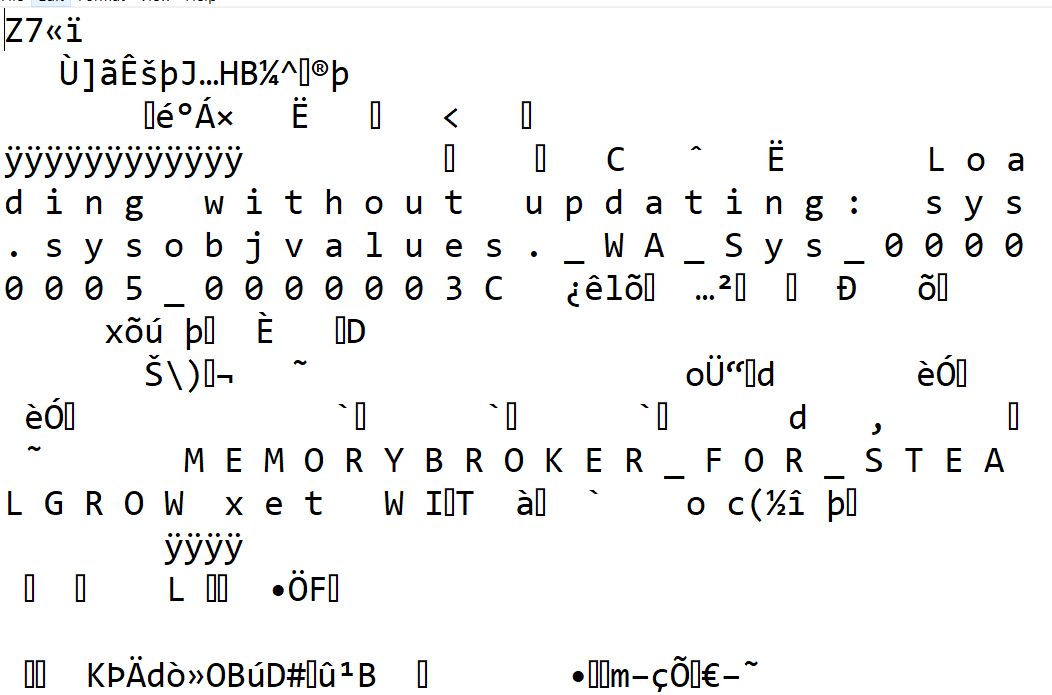
Because this is an XML based document, it would be logical to think we can read the data we could simply open the document it in Notepad as you will see below. Well, that is not the case. If you try to open one of these files with Notepad, it will look something like this. Not exactly useful.
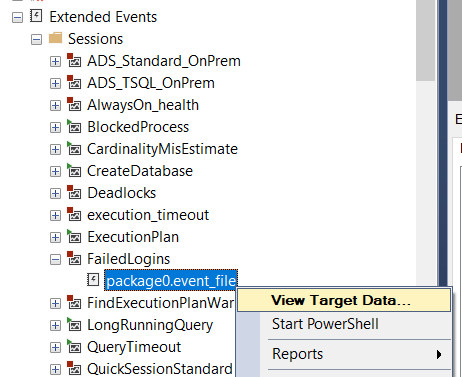
Well, if I can’t open the file with Notepad, how can I read the data. With Extended Events there are two methods. The first one is the easiest. In SQL Server Management Studio, navigate to the Extended Events and find the session. Then right click on the target and go to “View Target Data…”. Just as below.
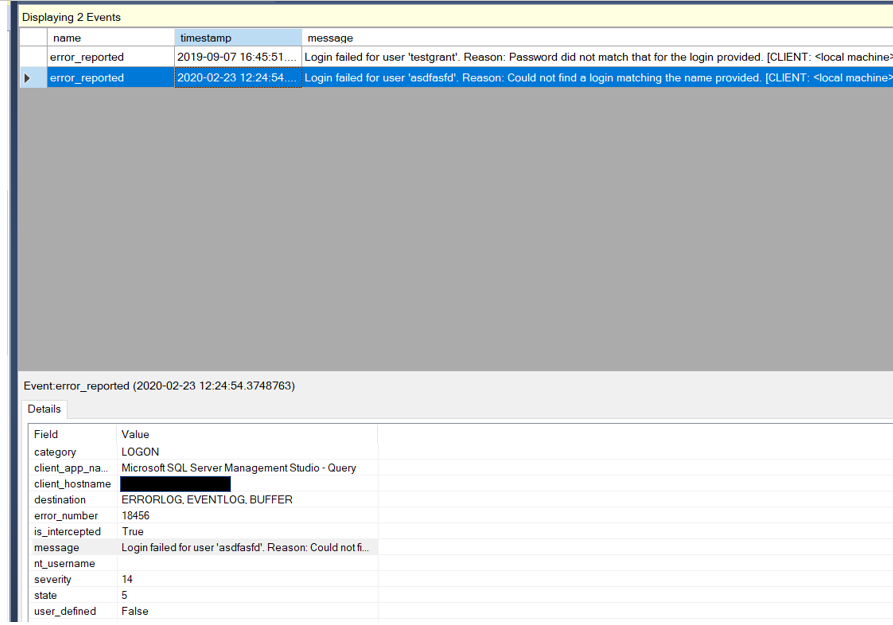
When you view target data, it will look similar to below.
Once you are here you can view the data, sort it and even group it. One additional task you can do that I would like to mention is the ability to export the data. While Extended Events does not allow for the direct input of the data to a SQL Server database table, it be exported into a table using SSMS. Now that it is in a table the data is easier to analyze.
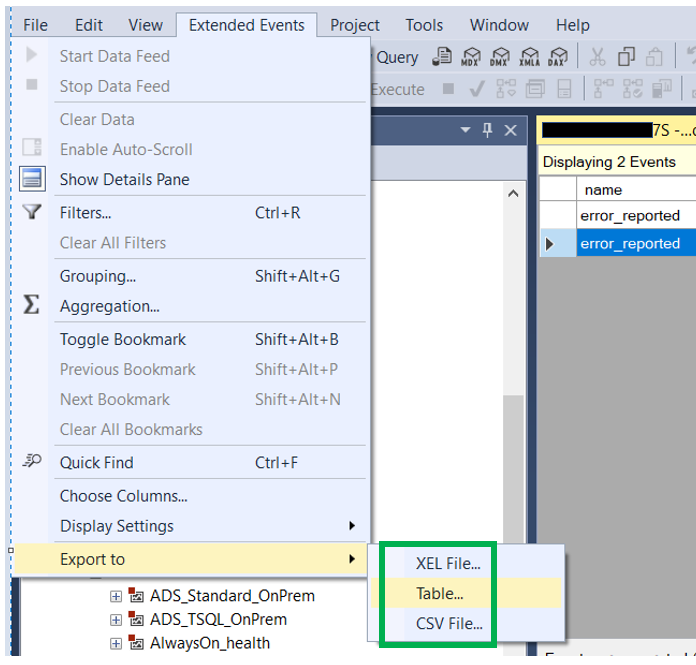
When viewing Extended Event data, a new menu item will appear in SSMS, Extended Events. At the bottom of this menu are the menu items that can be used to export the data. There are three options, .XEL file, Table or CSV file.
While view target data as described above is very useful, it would be something that would be very difficult to automate in any way, especially if you would like to move that data collected to a table. This is where the sys.fn_xe_file_target_read_file function comes into play. This function works very much like the sys.fn_get_audit_file function used to read SQL Audit files.
Below is the code you could use to read the XML based extended event file. Using the example we used earlier posts looking for failed logins with the SA account, this bit of code does the same.
This code breaks the reading of the data into a few steps. The first step pull the data into a temporary table with a column that has a datatype of XML. Then the second select statement breaks the XML into more readable columns that will allow us to use more traditional TSQL to read the data.
SELECT FailedLoginData = CONVERT(XML, event_data)
INTO #FailedLogin
FROM sys.fn_xe_file_target_read_file(N’C:\temp\FailedLogin*.xel’, NULL, NULL, NULL);
SELECT
EventDate = FailedLoginData.value(N'(event/@timestamp)[1]’, N’datetime’),
Message = FailedLoginData.value(N'(event/data[@name=”message”]/value)[1]’, N’varchar(100)’)
FROM #FailedLogin
WHERE FailedLoginData.value(N'(event/data[@name=”message”]/value)[1]’, N’varchar(100)’) LIKE ‘Login failed for user ”sa”%’
ORDER BY Eventdate DESC
DROP TABLE #FailedLogin
Of course you will need to update the path to the .XEL file to the path for your environment. When you run the above query, the image below shows what your data set should look like.
Now you can take the query and modify it so you can build some type of alerting.
Hopefully this can help you find failed logins.
Thanks for visiting by blog!!